Showing posts with label scrapbooking. Show all posts

Sunday, February 10, 2013

Project Life Newbie

Happy New Year to everyone (Chinese new year at that haha).  I haven't blogged in months as I have been busy with the holidays and the preparations for my sister's wedding.  Finally, after everything has done, I am back to my usual self, a CRAFTER! Wooohooo!!!

If you are on my blog for the first time and reading this entry, I'm sure you are searching about Project Life.  And this may not be a tutorial on how I make mine (coz as you see, it's also my 1st year on PL), I will give you websites of some of the ladies who have inspired me to capture life as it comes, and appreciate life as a whole.  And yes, while taking pictures capture the moment, wouldn't it be nice to have an album of these photos that you can look at years from now, and not just store those memories on your hard drives or social networking sites that might eventually crash or close.

Anyhoo, I have been searching and researching on project life since 2012 but could not convince myself to start one.  I was afraid of committing to the project and might end up giving up on it and wasting so much money.  But looking at the images on google and instagram, I am made to realize that project life is so easy, just don't stress on that "photo-a-day" concept.

Welcoming 2013, it dawn on me that a lot will change this year so I told myself I need to document this year, a year of change.  So again, I "studied" project life.  I searched for blogs that covered project life and I'd like to share it with you as I know it will inspire you the way they have inspired me to join the circle of project lifers.

1.  Becky Higgins - the maker/designer/founder of project life
2.  Ali Edwards - mostly does project 365 (documenting everyday life) - photo-a-day approach
3.  Amy Tangerine - though she has her own line of scrapbook/daybook/smashbook products, still does project life like any other crafters who wish to try new things and make new ways of documenting life
4.  Lisa Truesdell - an Instructor and a designer at twopeasinabucket.com website.  I highly recommend reading her 2012 Captured Class at twopeas.  I read her 12-month lesson on Project Life and it has helped me do mine smoothly.

I also watch random flip thru videos on youtube just so I have an idea of how other crafter approach project life.

Hope I have somehow helped you decide if Project Life is for you. 

PS:  If  you think being single with no kids, having a daily routine and doesn't go out is boring and not worth documenting?  Think again, I am on 5th week on PL and so far, I have been filling in the pockets pretty well. :)

Here's the cover page/1st page of my 2013 PL :)


Wednesday, November 28, 2012

December daily

Hi everyone!  I know I have been slacking on my blog posts.  I have been very busy with work and some family stuff and I just couldnt find enough time to blog at the moment.

But yey for me, I'm able to make some few projects while I was away from the blogging scene.  Recently, Kathy Orta of Paper Phenomenon did a series of Youtube video tutorials in making her December Daily.  Wondering what a december daily is?  Its a scrapbook/smashbook or whatever you want to call it that was started (if im correct) by Ali Edwards a few years back and it has been a hit.  Its where you record the memories, things, events, traditions and whatever it is that makes you look forward to December and most especially Christmas.  Some may start as early as Thanksgiving and end it up to New Year. It doesnt matter, its your book and you can do it anyway you want it to be.
Anyways, I have made mine using Kathy's Tutorial on a lapbook type album at it was a great project I tell you.  It seemed to much work but she taught it well and I was able to make it. 

Here's a quick video of a flipthru of my 2012 December Daily, and I hope it will also inspire you to make your own and record your holidays this year.


And by the way, incase this looks complicated to you all, Kathy has another video tutorial series on Youtube making a december daily using cards and envelope.

Thanks!


Friday, October 19, 2012

DIY - Heidi Swapp's Memory File System

A few weeks ago, a good friend Cathy introduced me and some ladies to Heidi Swapp's Memory File System.  And as always, I got curious and started searching for websites and of course, Heidi's blog as well.  It looks so interesting and seemed to be another simple way of preserving memories.  For Heidi, she says, its an interactive scrapbook - that can hold about 25-50 photos depending on the accessories you are putting in. 

I can't find any of this here in the Philippines and ordering online is out of my options since international shipping is way too much and I can't afford it for now, even if the products are affordable and reasonably priced.

So yes, like any crafter would, I made my own using what I have available.  Recently, we celebrated my dad's 60th birthday and his retirement so I wanted to make one to store photos from that event.

So here's a tutorial of how I made my Memory File System.

Enjoy!
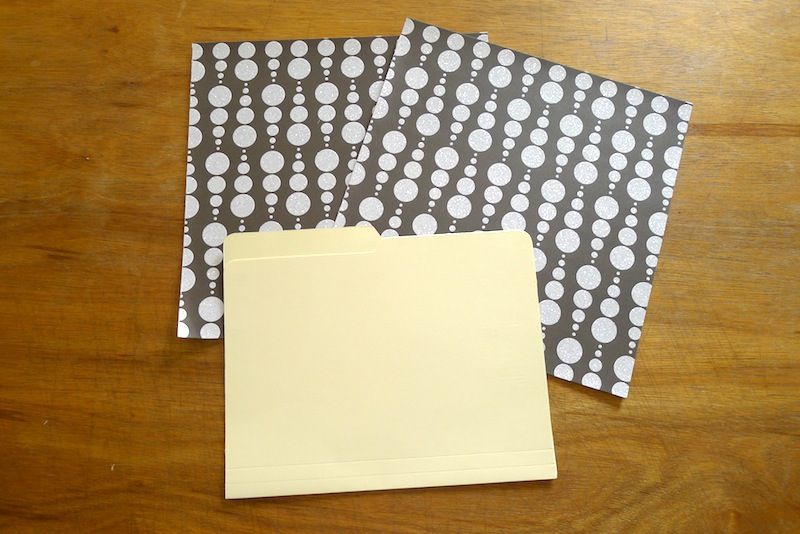
Gather your materials.  12x12 paper/cardstock of your choice,  additional paper for accent/embellishment, adhesive, scissors and short file holder
Choose 2 pcs. -  2 designs of 12x12 paper to cover the inside and outside part of the file folder
Trace the folder and trim
Apply adhesive onto the file folder, making sure to add it to the edges of the folder to prevent them from peeling off.  Use a good adhesive, adhere the prepared designer paper and trim off excess.
This is how my outside cover looks like laying flat on the table.
Repeat the process to cover the inside part of the folder, make sure to leave a little gap between the paper so you won't have a problem closing it.
You can skip this part if you don't want to add additional pages inside.  You can also use mini file folders and repeat the process of covering the inside and outside part.  But for this project, I made a pattern for a top note shape, about 12 inches wide and 9 1/2 inches in height.  Traced it to a chosen cardstock (you can choose double sided this time if you want) and cut.
I prepared 2 of the top note shaped paper scored at the center to make a 6x9 1/2 page
Also, I made a flip page to store more photos and for journaling.  I cut 4 1/2 inches wide paper out of my 12x12 paper, holded and stack 3 papers (for this project) and folded them 1 page longer by 1 inch. Say 1st page is at 4 inches in height, the next page would be 5, and so on.
Finished project.  Front
1st spread when opened.


Attached the pages using staple wires.  You can opt to stitch them.
Hope to see your work soon.

Thanks!

Tuesday, October 16, 2012

September daily - DONE!

A few weeks ago, I shared the start of my September daily album with the instagram photos i had for the month.  If you haven't seen it yet, its this post I was talking about.

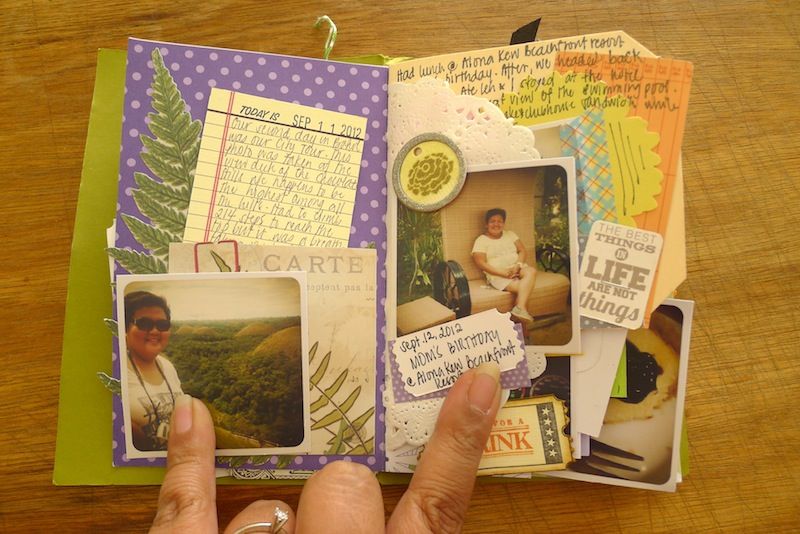
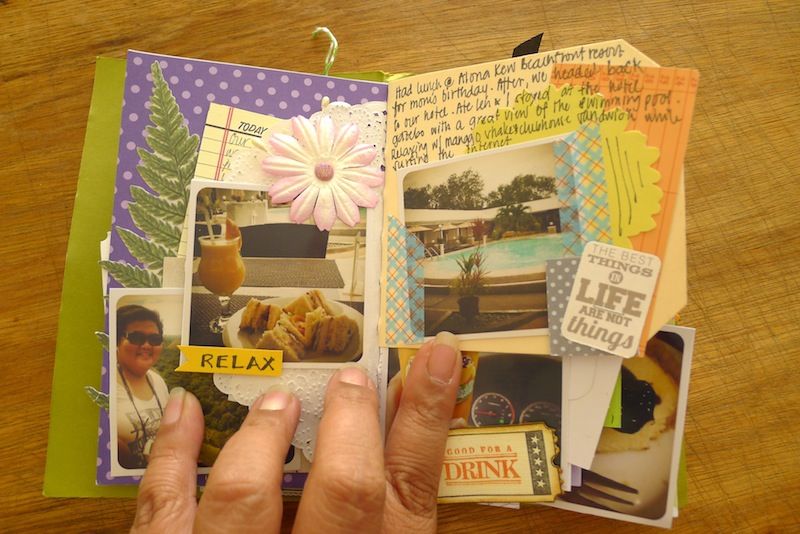
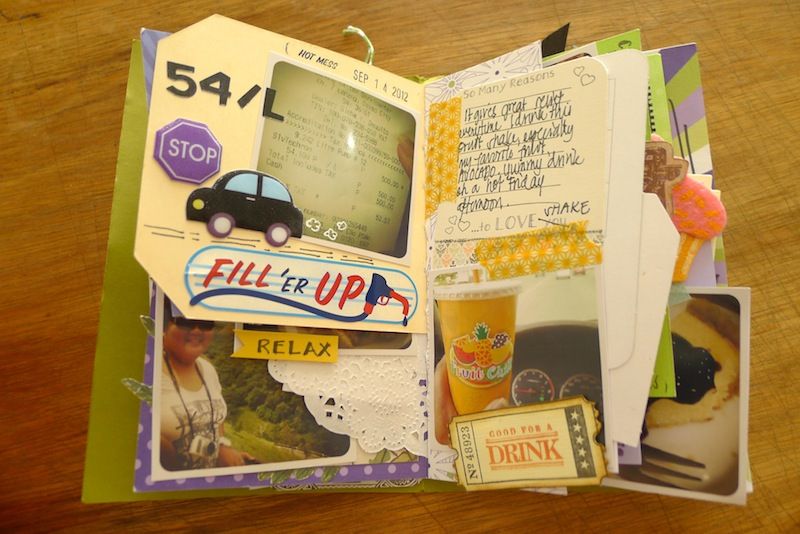
So last Monday, I was able to finish my daybook and was able to write all the journaling I needed. Ha! Good thing I was still able to recall everything. One good tip, try to make your dailies within 2-3 days that it happend LOL.

So here's the other pages I did: WARNING: photo filled post.


Also, I have a video - flip thru my day book... 


How's your daybook coming along?


Tuesday, September 18, 2012

Crafting Tools

Before I start with this post, I'd like to thank you all for visiting my blog and for giving great comments.  This means a lot, and will keep me going with my blog.

Anyways, today's post is about the tools and the things I use when I'm creating something, may it be a card, a smash page, a full daybook.  These stuff I have accumulated over the years, some from friends and family and some I got from my mom, who's a crafter herself, and I'm lucky to have gotten that part of her genes. LOL.

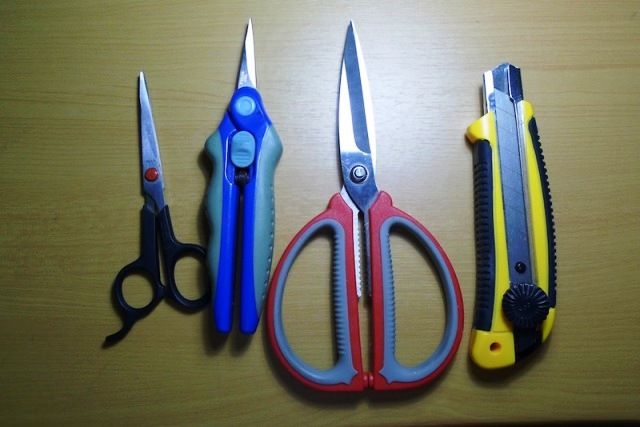
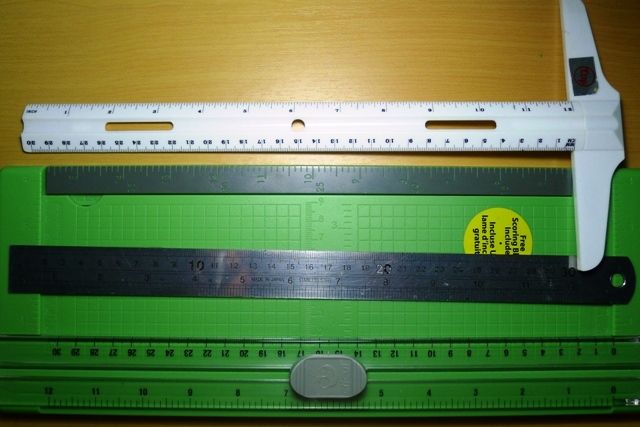
First stop, Cutting tools.  There's nothing special with the scissors that I have, some of this I just got from our local office supply store.  But I dedicate my scissors to a certain work, the black one i use to cut my double sided tape, the blue one is for cutting ribbons and other fabric material, the red one i use for paper.  But like any crafter, sometimes you just have to break the rule you made specially when one is out of reach. haha.  The blade or cutter (yellow) is the one I use with trimming of intricate details or when Im cutting tons of photos printed.  I dont use my trimmer for cutting my photos 'coz it does make that rough edges.  If you are not comfortable using this huge cutters - which I love using, you can also opt using X-acto knives.  I also have the Cricut Paper Trimmer (actually it's my mom's but she doesn't use it, so i asked for it).  One trick though, after cutting a few papers, always clean the groove where the blade slides 'coz a few bits of paper left may rip of the ones you are trying to cut and think your blade sucks.  

Also included in the photo below are the T-square ruler I use to mark my papers and also helps in creating straight lines and the 12" Metal ruler I use with my cutter.

 My scissors and cutter

 Cricut Paper Trimmer, 12" T-Square Ruler and 12" Metal Ruler

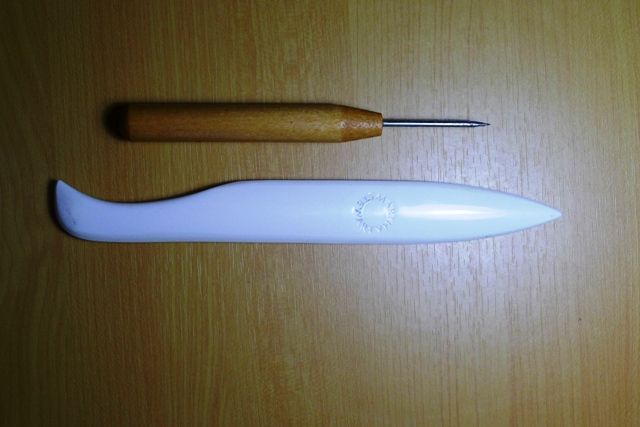
The next must-haves if I may say so, are bonefolders and paper piercer.  The bonefolder makes crisp folds with making cards and also use when scoring paper.  My mom has the MS Scoreboard but I'm just to lazy using it.  So I use my bonefolder and my paper trimmer when scoring.  The paper piercer I use when making my own handmade daybooks.  It comes handy I tell you specially when you try to transfer tiny alpha stickers on your projects.
 
 Martha Stewart Bonefolder and my Paper Piercer

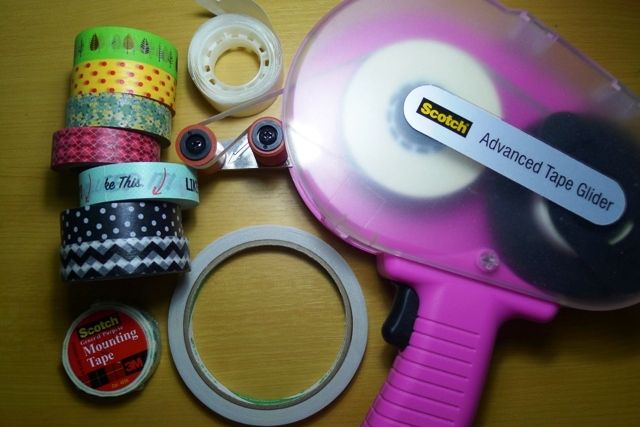
Third on my list are adhesives.  I have the Scotch ATG Applicator which I use only when I'm doing my card making projects for the simple reason that refills are hard to find where I am. When I am working on other projects, I use double sided tapes to secure my photos and other embellishments.  The washi tapes I use to add accent to my pages and even at 51 rolls, I still feel like I need more and still afraid to use it as I might ran out of it haha. Is that obsession or what!?  Not included in the photo, I have the Scotch Quick Dry Liquid adhesive to attach other embellishments like buttons, flowers, etc  Another must have would be pop dots to add dimension to your pages, and I also have glue dots that I seldom use. I use the 3M Double sided foam tape in place of pop dots - its cheaper.

Washi tapes, 3M foam tape, glue dots, double sided tape and Scotch ATG applicator
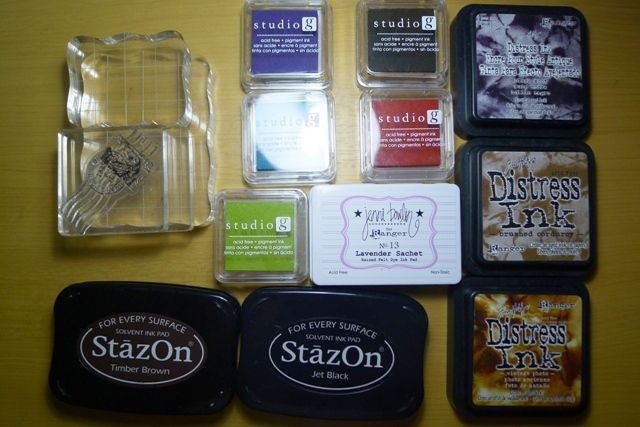
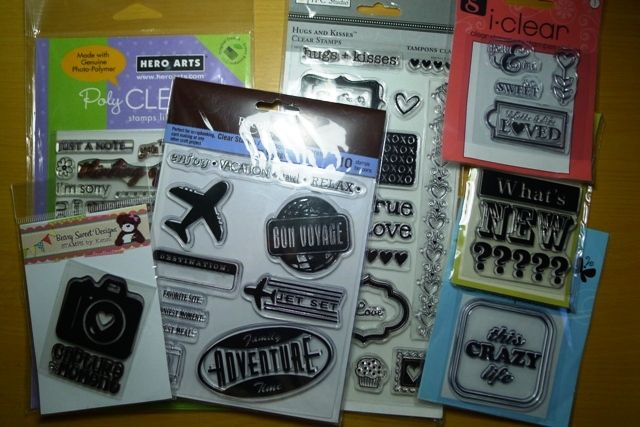
Other things that I have on my stash:
 Ink Pads, Distress Inks, Acrylic Blocks

 Stamps sets
 
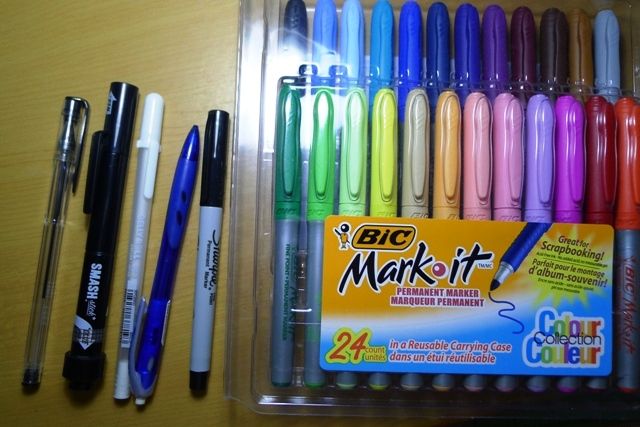
Assorted Pens - Regular Ballpoint pen, Smash pen, White Gel pen, Mechanical Pencil (or any pencil will do), Sharpies and other Colored marker pens

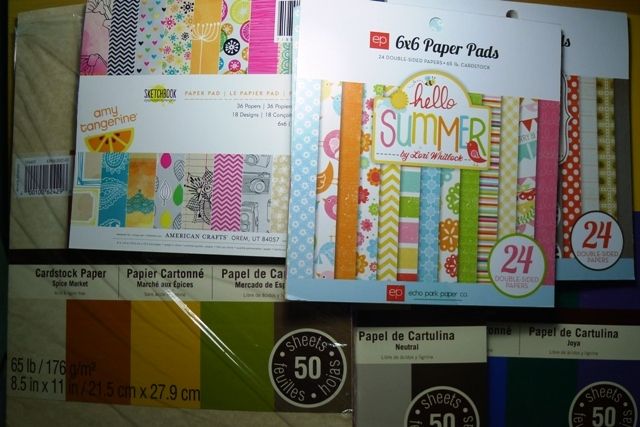
Some of my 8 1/2 x 11 cardstock and 6x6 pads

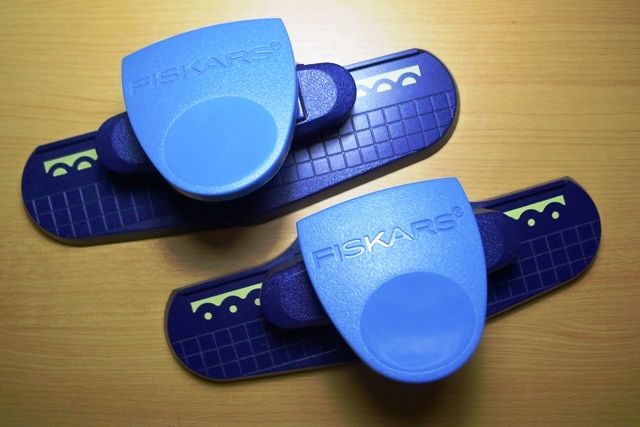
 Edge punch

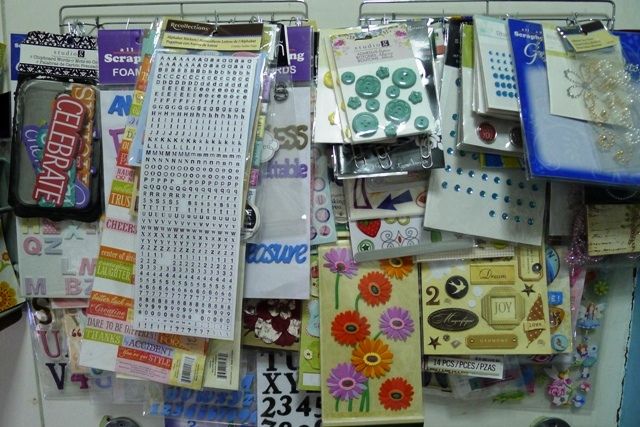
 Some of my crazy messy embellishments - alpha stickers, word stickers and more stickers, buttons, blings, flowers, tags, etc.

So there goes my stuff for you to see and I hope I get to help you decide what things you need to start you paper crafting projects.

Thanks!